Importing your music
How audio gets into CueStack.
On this page
The Tracks list
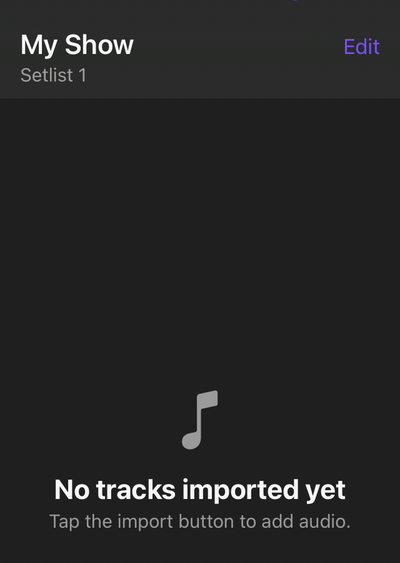
The Tracks list is where your audio files live. Before you import anything, it shows "No tracks imported yet" with a prompt to "Tap the import button to add audio."
Opening the file picker
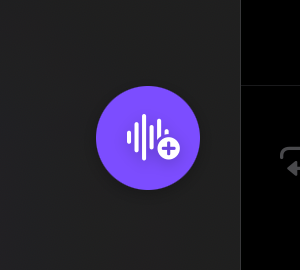
Tap the import button at the bottom-trailing corner of the Tracks list. This opens the iPad's standard file picker, so you can browse Files, iCloud Drive, or any other location your iPad can reach. You can select one file or several at once, or drag files in.
Reviewing and confirming
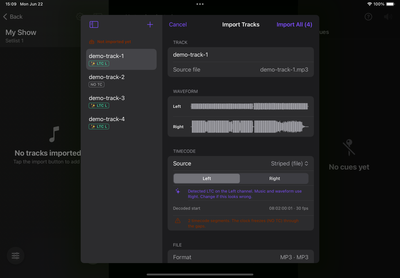
After you choose files, CueStack opens the Import Tracks sheet. Your tracks appear on the left as a staged list under "Not imported yet." The detail pane on the right lets you review each track's name and timecode settings before you commit.
When you are ready, tap Import All in the top-right corner. The staged list footer states the rule: tracks are staged for review; tap Import All to add them to your library; if you leave without importing, they are discarded. To remove a track before importing, swipe it left in the staged list and tap Remove.
Where files come from
Because CueStack uses the iPad's built-in file picker, your audio can come from anywhere iPadOS can see: Files, iCloud Drive, a USB drive, or a connected cloud service. CueStack copies each file into the app, so a song stays put even if the original is later moved or deleted.
Formats
mp3, wav, m4a, aac, aiff, and flac are guaranteed. CueStack also accepts anything iPadOS can decode, so most common formats import fine.
DRM-protected files (tracks from a streaming service, for example) cannot be imported. They are licensed for playback inside that service only. Export or download a plain audio file and import that instead.