Settings
Where to change how CueStack behaves.
On this page
Open Settings by tapping the gear icon in the editor nav bar, or in the Projects or Tracks nav bars.
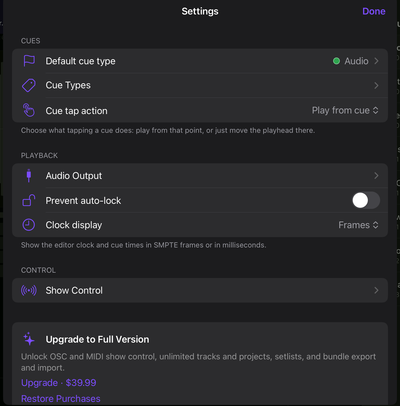
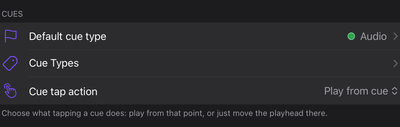
Cue tap action
When you tap a cue in the cue list, CueStack can either start playing from that point or just move the playhead there without playing. Choose the behavior that fits your workflow. See Playback & remote for how cue replay works in practice.
Clock display
The editor clock and all cue times can display in two formats:
- SMPTE frames for frame-accurate work with video timecode.
- Milliseconds for audio-centric timing.
Switching this updates every time readout in the editor immediately.
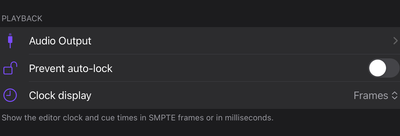
Audio Output
The Audio Output screen assigns your connected interface's channels to Music and Timecode roles. This is where you separate the audio your audience hears from the LTC timecode sent to a video server. See Audio output for the full walkthrough.
Replay intro
Under Getting Started, tap Replay intro to run through the onboarding again. Useful for a refresher, or when you are showing CueStack to someone for the first time.